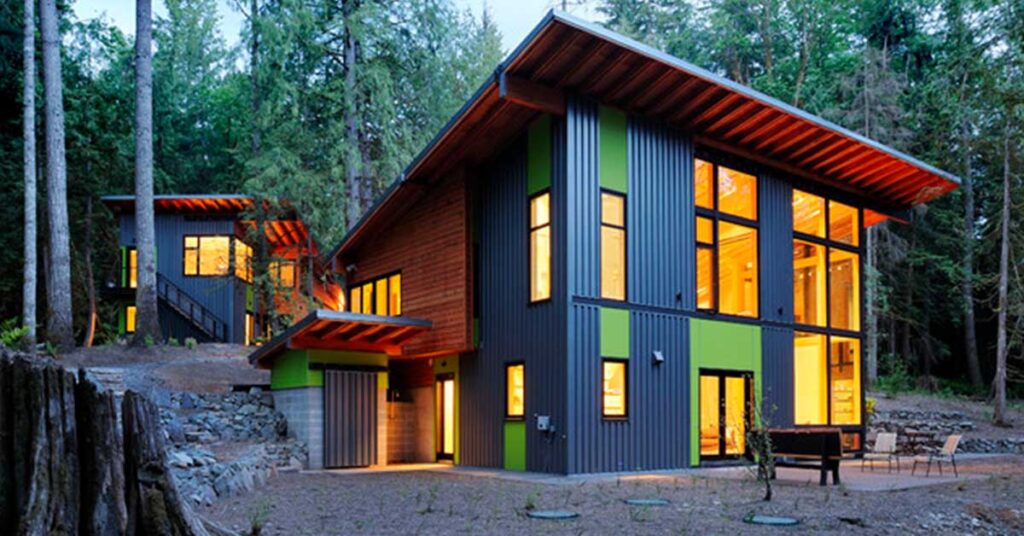
Whether you’re an aspiring roofer looking to kickstart your career or a homeowner with a passion for DIY projects, learning how to build a sloped roof is a valuable skill. In this comprehensive guide, we’ll walk you through the step-by-step process of constructing a sloped roof, from planning and preparation to installation and finishing touches. By the end of this article, you’ll have the knowledge and confidence to tackle your own roofing projects with ease.
How to Build a Sloped Roof
Building a sloped roof requires careful planning, precise execution, and attention to detail. Here’s a step-by-step guide to help you construct a sturdy and weatherproof sloped roof:
Prepare the Site
Begin by preparing the site where the roof will be built. Clear away any debris and ensure the area is level and free from obstacles. If necessary, mark the perimeter of the roof using stakes and string to guide your construction.
Calculate the Pitch
Determine the pitch, or angle, of your roof. The pitch is expressed as a ratio of rise over run, indicating the vertical rise in inches for every horizontal foot. Use a framing square or a pitch gauge to measure and mark the desired pitch on the rafters.
Install the Rafters
Start by installing the rafters, which are the sloped beams that form the framework of the roof. Cut the rafters to the appropriate length and angle according to your calculated pitch. Secure the rafters to the walls of the building using nails or screws, ensuring they are evenly spaced and properly aligned.
Add Support Beams
Once the rafters are in place, add additional support beams such as ridge boards and collar ties to reinforce the structure and distribute weight evenly. These beams help to prevent sagging and ensure the roof remains stable over time.
Install Sheathing
With the frame in place, it’s time to add the sheathing, which provides a solid base for the roofing materials. Install plywood or oriented strand board (OSB) over the rafters, ensuring it is smooth and level. Secure the sheathing with nails or screws, leaving a small gap between each panel to allow for expansion.
Apply Underlayment
Next, apply a layer of underlayment over the sheathing to create a waterproof barrier between the roof and the elements. Choose a suitable underlayment material such as felt or synthetic membrane, and overlap the seams to ensure complete coverage. Secure the underlayment with nails or staples, taking care to smooth out any wrinkles or bubbles.
Install Roofing Materials
Once the underlayment is in place, it’s time to install the roofing materials themselves. Whether you’re using asphalt shingles, metal panels, clay tiles, or another material, follow the manufacturer’s instructions carefully. Start at the bottom of the roof and work your way up, overlapping each row of shingles or panels to create a watertight seal.
Add Flashing and Trim
Don’t forget to install flashing around roof penetrations such as chimneys, vents, and skylights to prevent leaks. Additionally, add trim along the edges of the roof to create a finished appearance and protect against moisture infiltration.
Final Inspection
Once the roofing materials are installed, take the time to inspect your work carefully. Check for any gaps, leaks, or other issues that may need to be addressed. Make any necessary adjustments or repairs before considering the job complete.
Clean Up
Finally, clean up the work area and dispose of any leftover materials and debris responsibly. Your sloped roof is now complete and ready to provide years of reliable protection for your building.
Follow these steps carefully, and with patience and attention to detail, you’ll be able to build a sloped roof that is not only functional and durable but also aesthetically pleasing.
Read More: The Ultimate Guide To Commercial Roof Inspection
Conclusion
You’ve successfully built a sloped roof from start to finish. Whether you’re pursuing a career in roofing or simply tackling a DIY project around the house, mastering the art of sloped roof construction is a valuable skill that will serve you well for years to come. Remember to always prioritize safety, follow best practices, and consult with professionals if you encounter any challenges along the way.


